Bedroom Closet Rods
Disclosure: As an Amazon Associate and member of other affiliate programs, I earn from qualifying purchases.
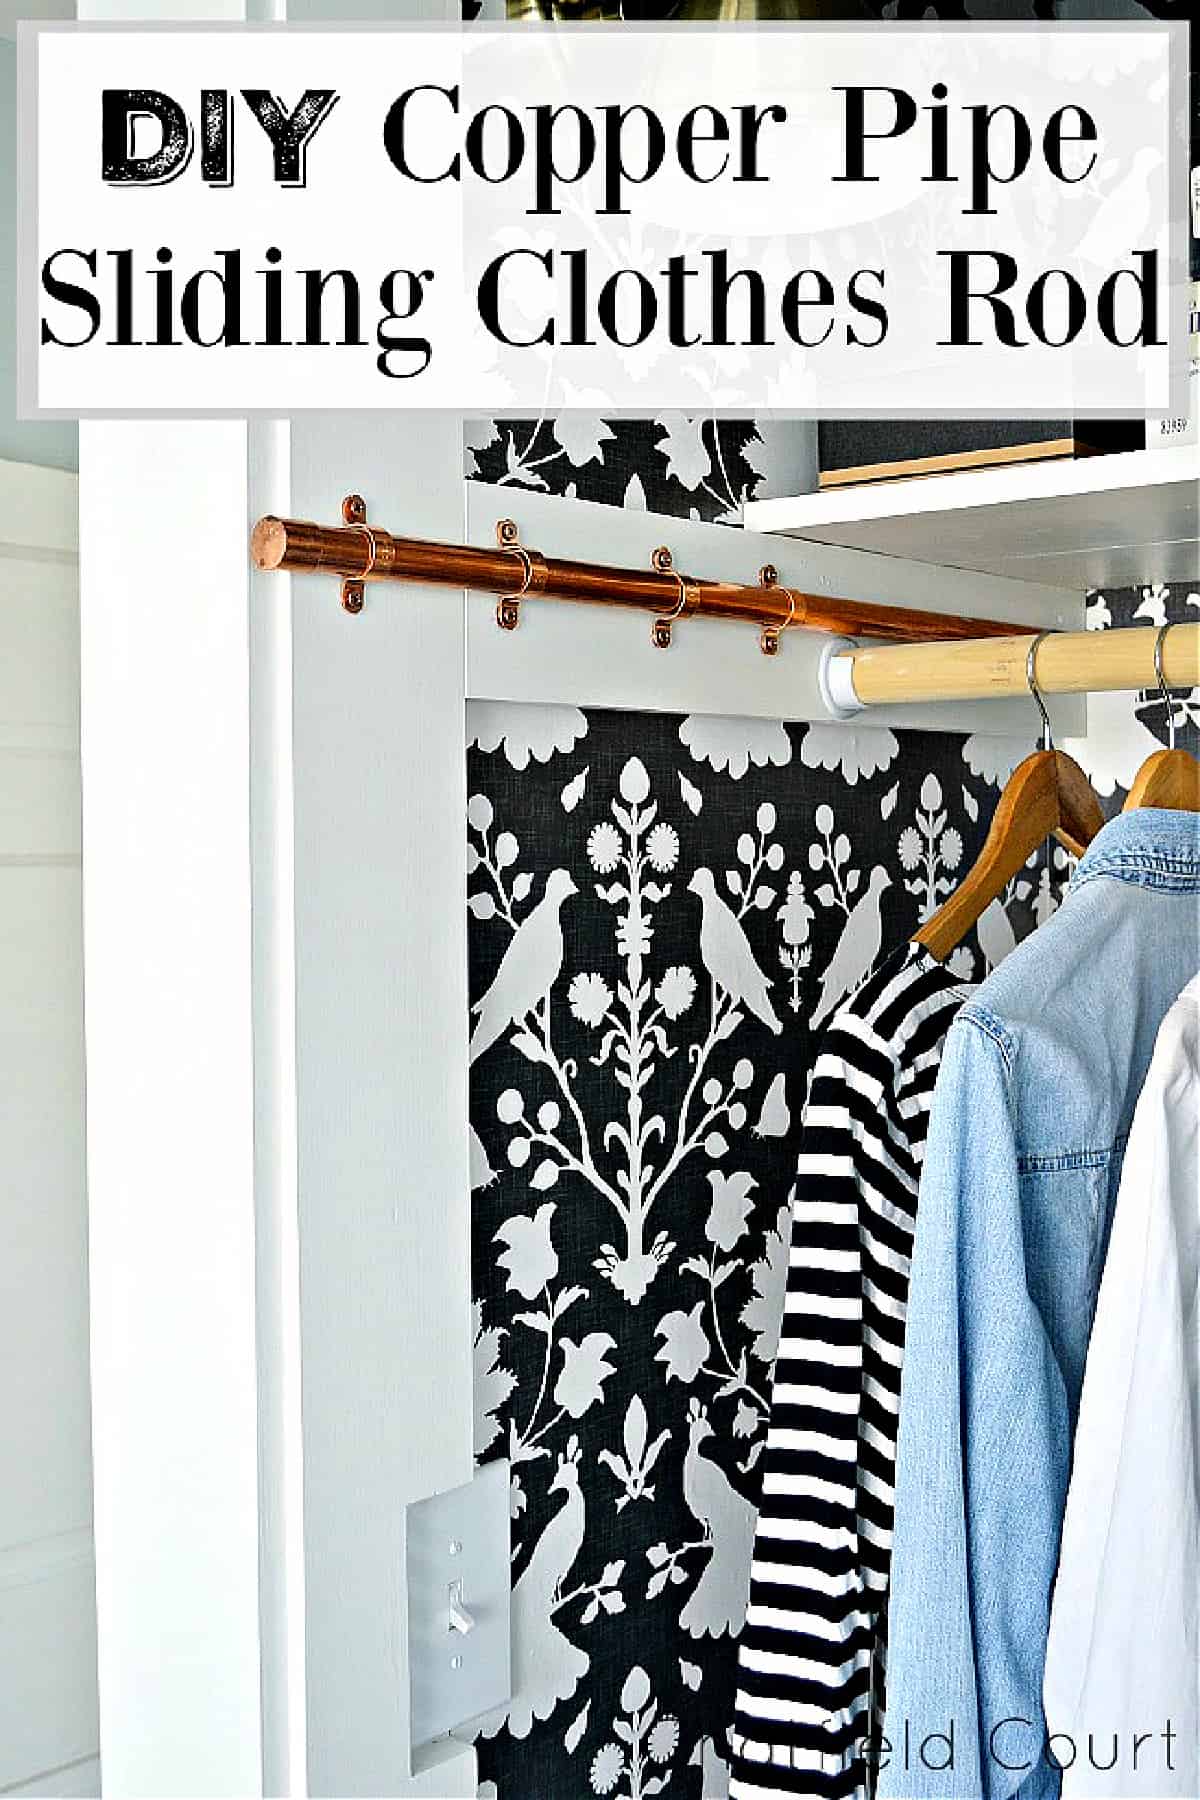
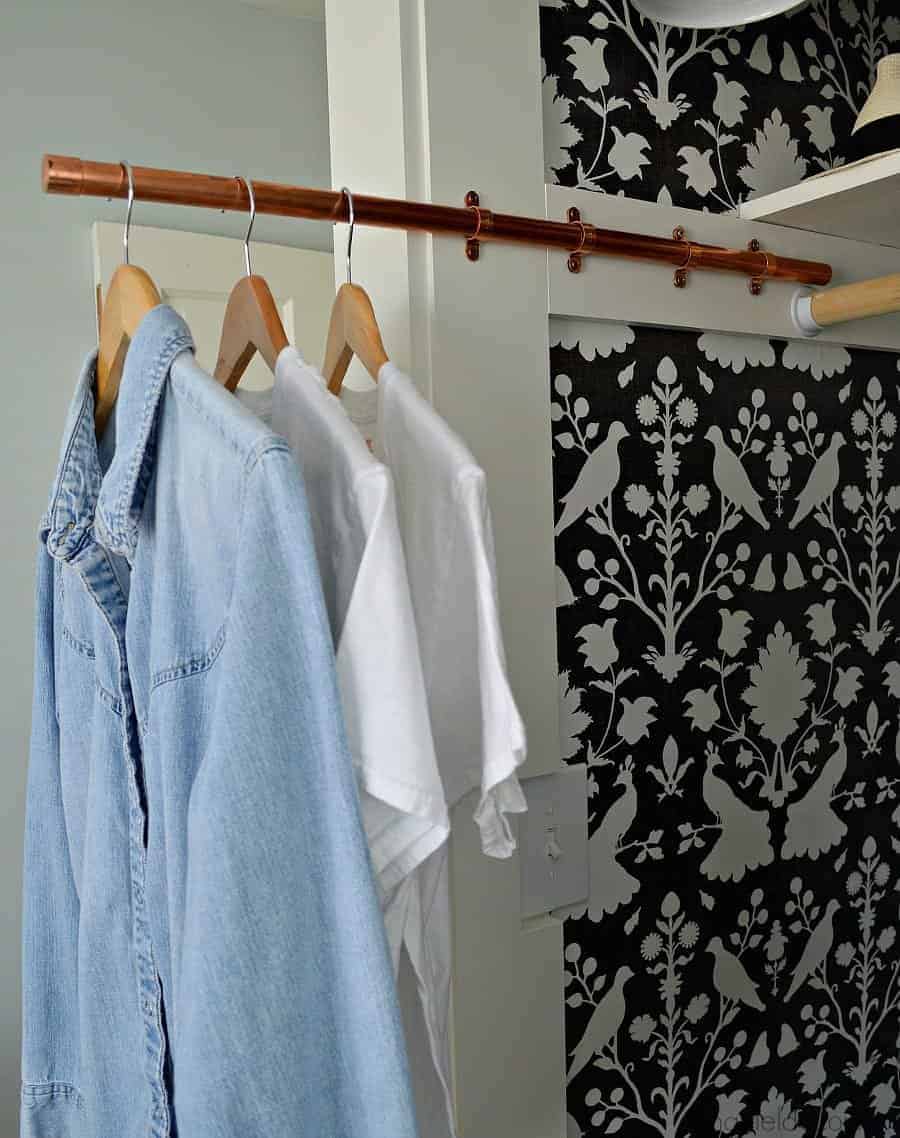
How to make a DIY clothes rod for your closet with a scrap piece of copper. An easy DIY project that gives you hanging space for clothes in a small closet.
One of the biggest projects to date in our little cottage was the new bedroom closet, as well as a brand new tiny powder room that we created out of a small bedroom closet.
I was happy to have all of the big projects done, like the pretty wallpaper, but one small detail was missing. I needed something in the new closet that would hold our wet, clean clothes so they could easily dry.
My solution was to use a sliding clothes rod.
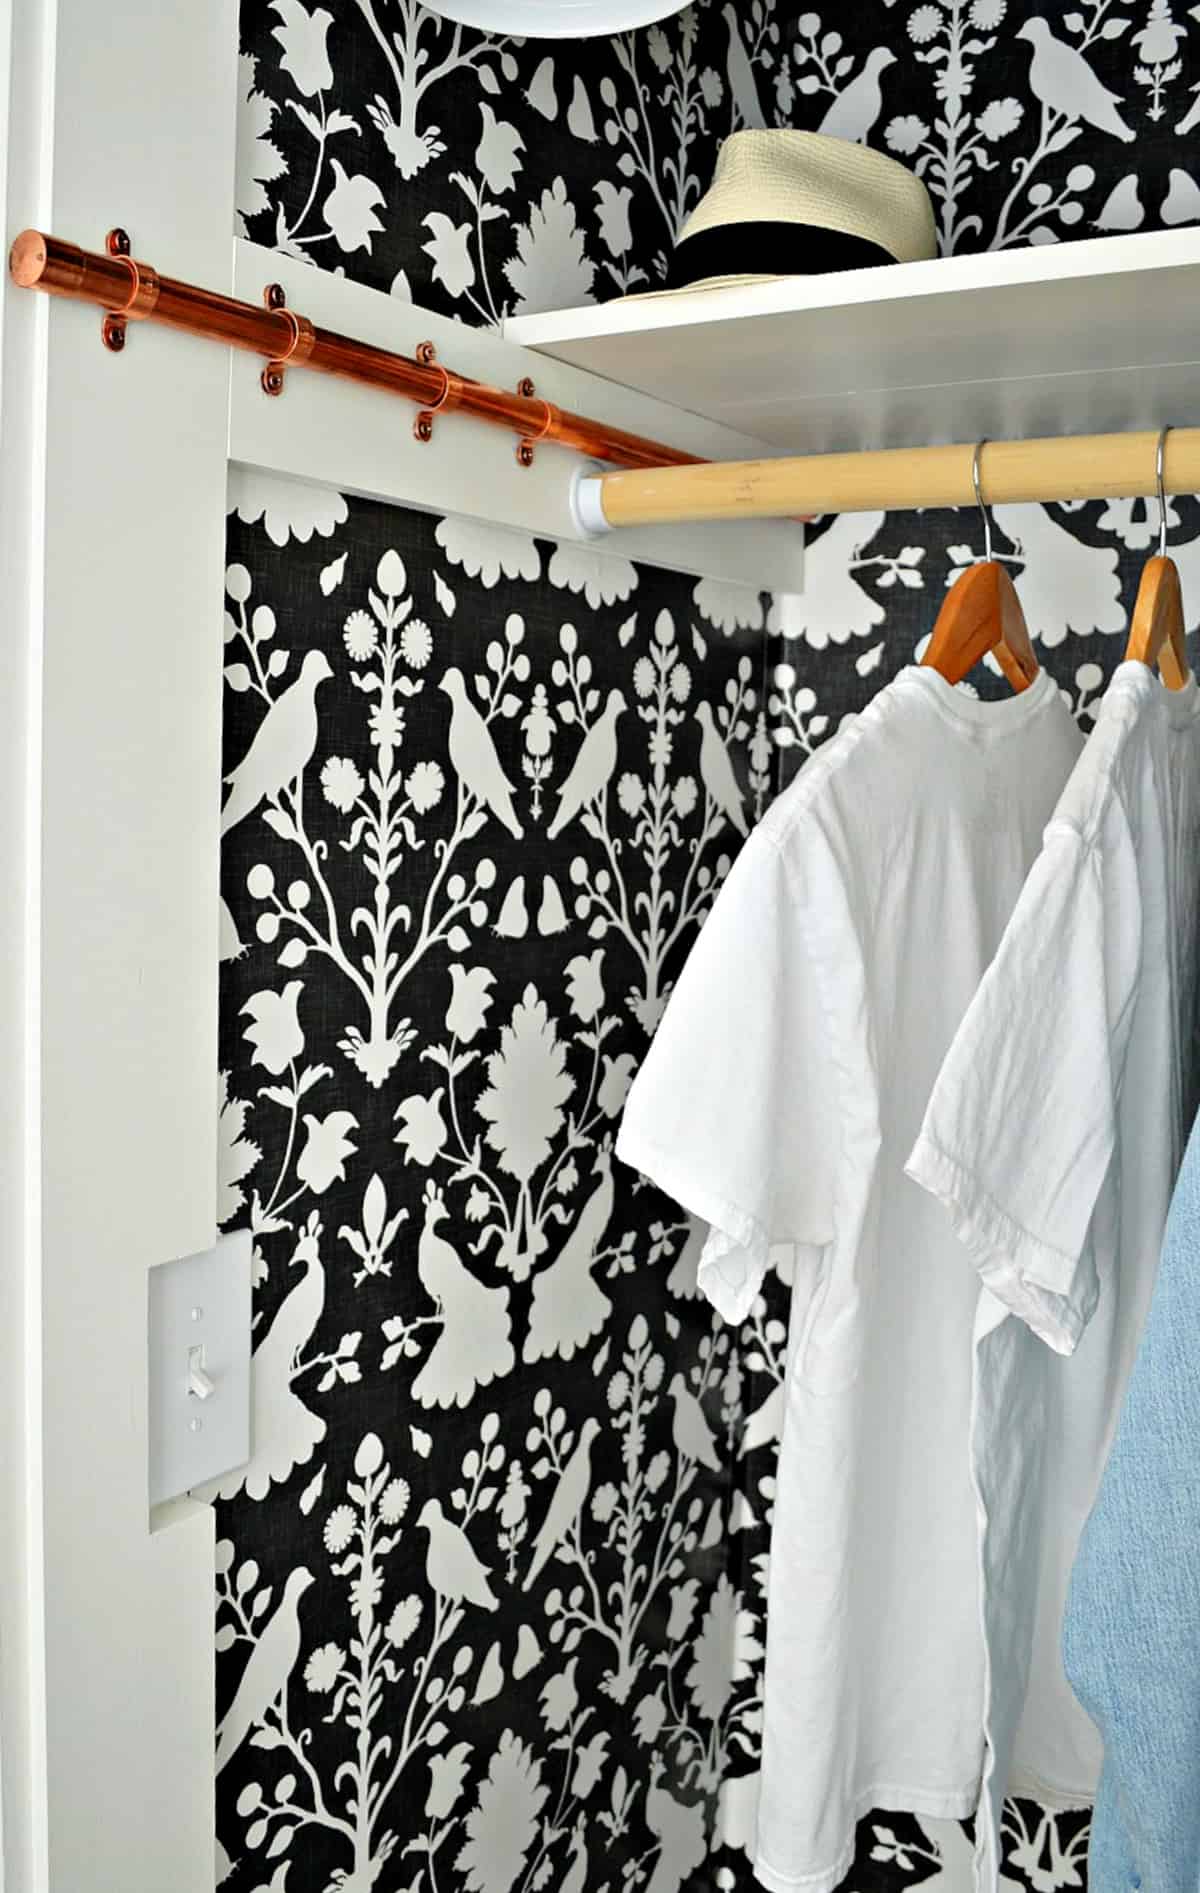
I had the idea to put one in the closet way before we started the powder room construction. I just never got around to it.
Why do you need a sliding clothes rod?
To hang wet laundry on to dry.
You know...those delicates that can't go in the dryer.
Our laundry is in our unfinished basement so I'm always schlepping my delicates upstairs to hang them to dry. The problem is that we only have 3 tiny closets in the whole house.
They're all filled to the max right now so there's no good place to hang them.
That's where a sliding clothes rod comes into play.
I started looking but never pulled the trigger. The ones I found online seemed pretty pricey and they were way too short for my needs.
There just wasn't a lot of room on the store-bought versions to fit several hangers.
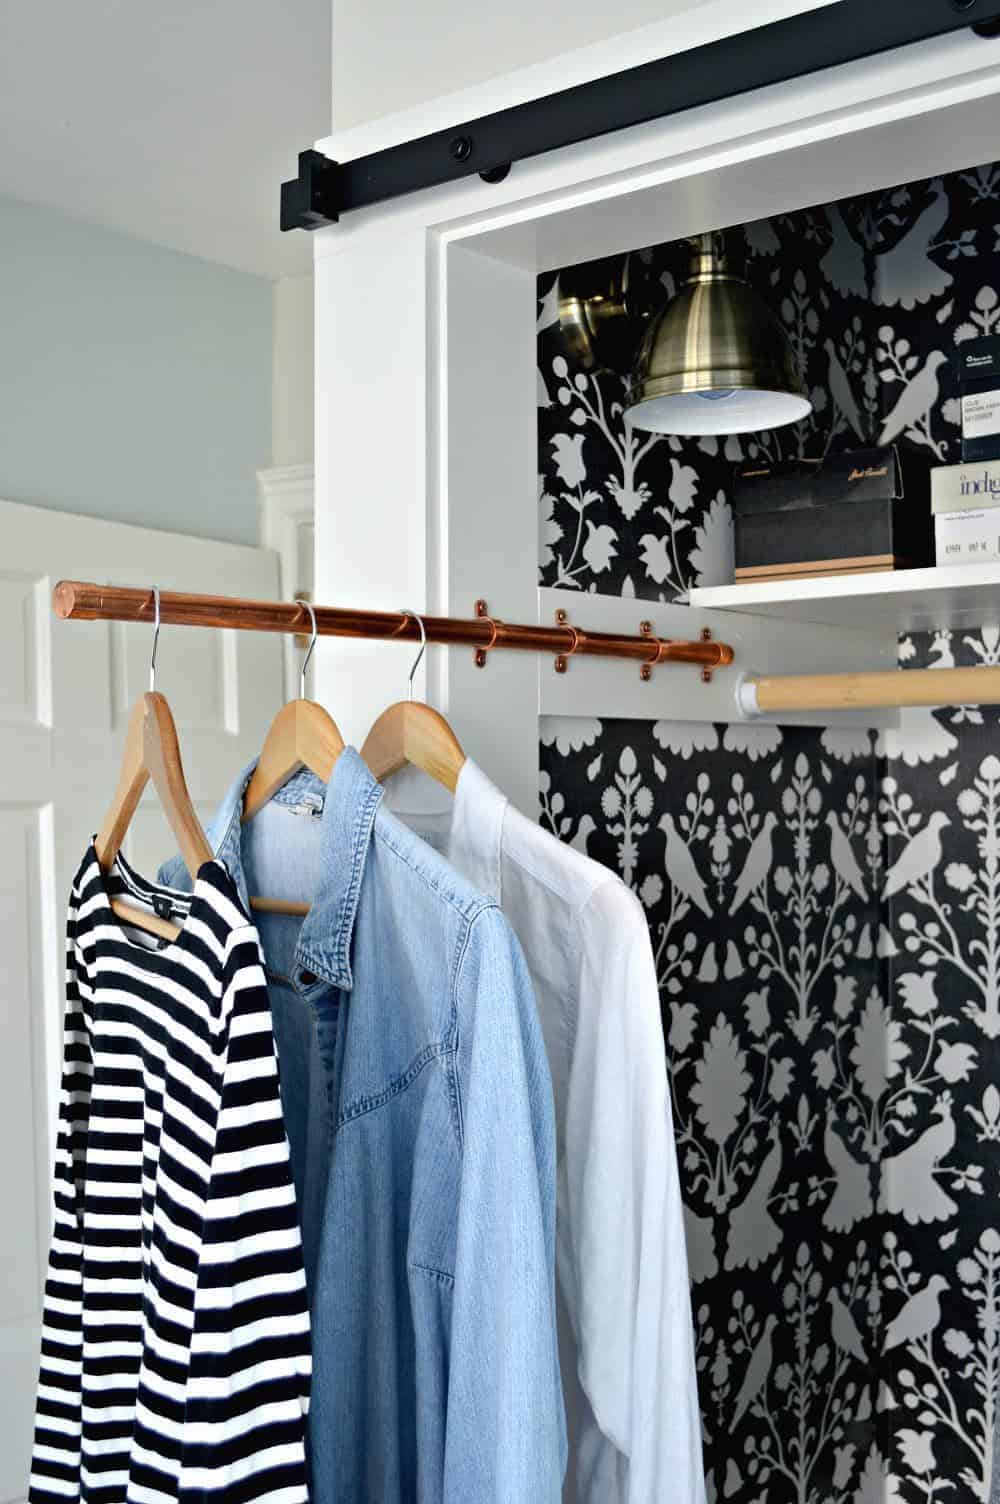
Not finding what I wanted online, I decided to make my own custom rod.
A quick trip to the home improvement store and I came home with all the makings for a custom copper pipe sliding clothes rod.
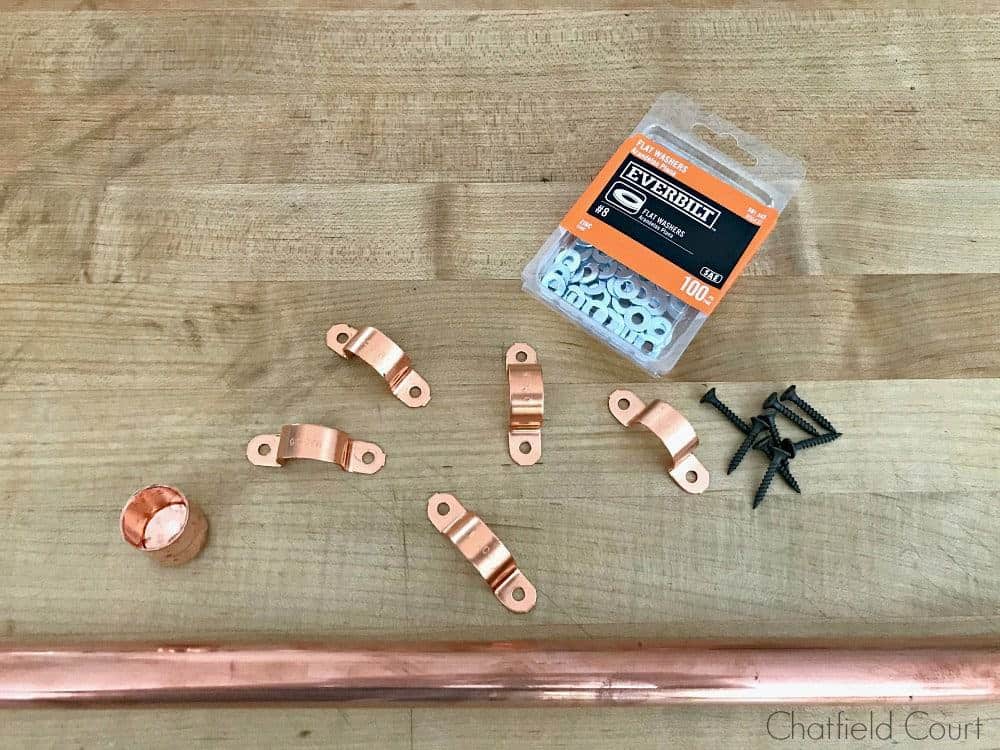
Some of the supplies I already had on hand, like the spray paint, wood screws and a 5' piece of pipe, so it only cost me a few bucks for copper tube straps and a cap.
Supplies
- ¾" copper pipe (60 inches in length)
- 4, ¾" copper tube straps
- ¾" copper tube cap
- pipe cutter
- #8 flat washers
- 3" wood screws
- file
- drill
- copper spray paint
Making a sliding closet rod
Step #1
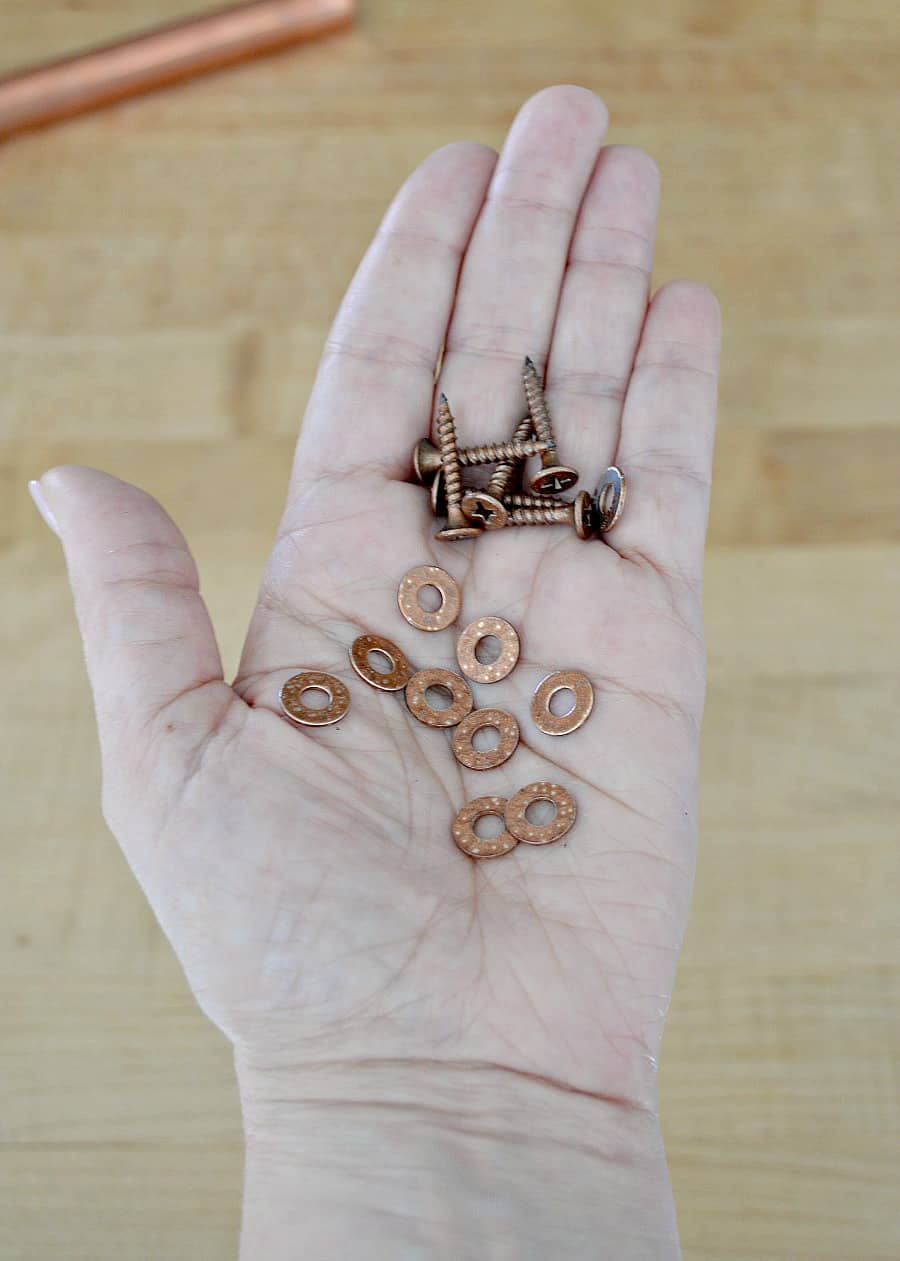
I had to use wood screws and washers, and I knew they would be visible so I gave them a quick coat of copper spray paint.
Once they were dry I was ready to start installing my sliding rod.
Step #2
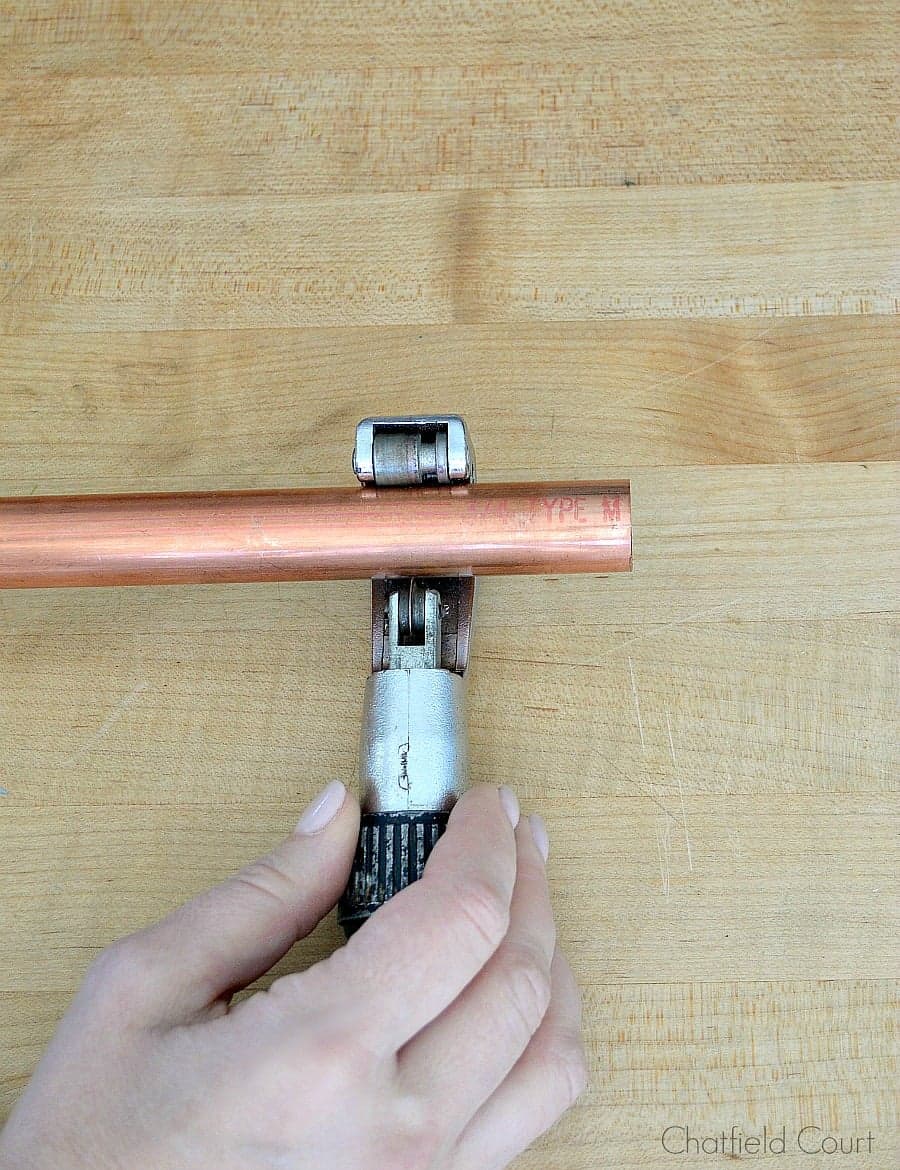
The first thing we had to do was to determine the length of the rod. We did this by taking the measurement from the back wall of the closet to the outside trim.
With the measurement taken I used a pipe cutter to cut the copper pipe down to size. I used the file to smooth the cut end and remove the burrs.
Step #3
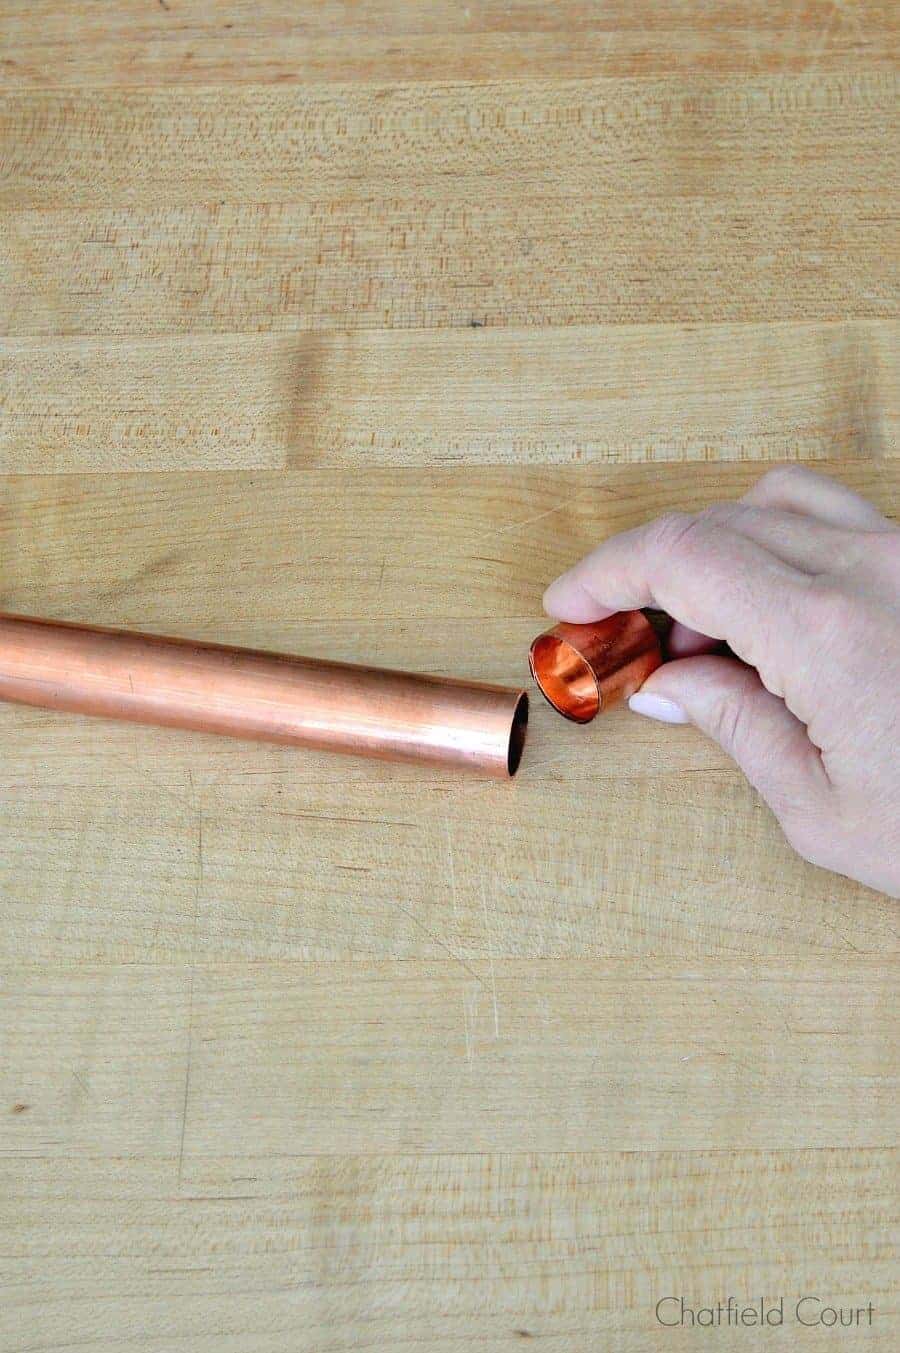
Next, I attached the copper tube cap on the end of the pipe that was going to be sticking out of the closet.
Step #4
Mounting the copper tube straps was our next step. We screwed the first strap, the one closest to the outside of the closet, in place about an inch back from the front edge (with our copper painted wood screws).
The next strap installed was the one closest to the back of the closet. The goal was to make sure the pipe was supported when it was pulled out so we took half the distance of the pipe length (15") and mounted that tube strap 15" from the front strap.
You also want to make sure that the back tube strap is level with the front strap.
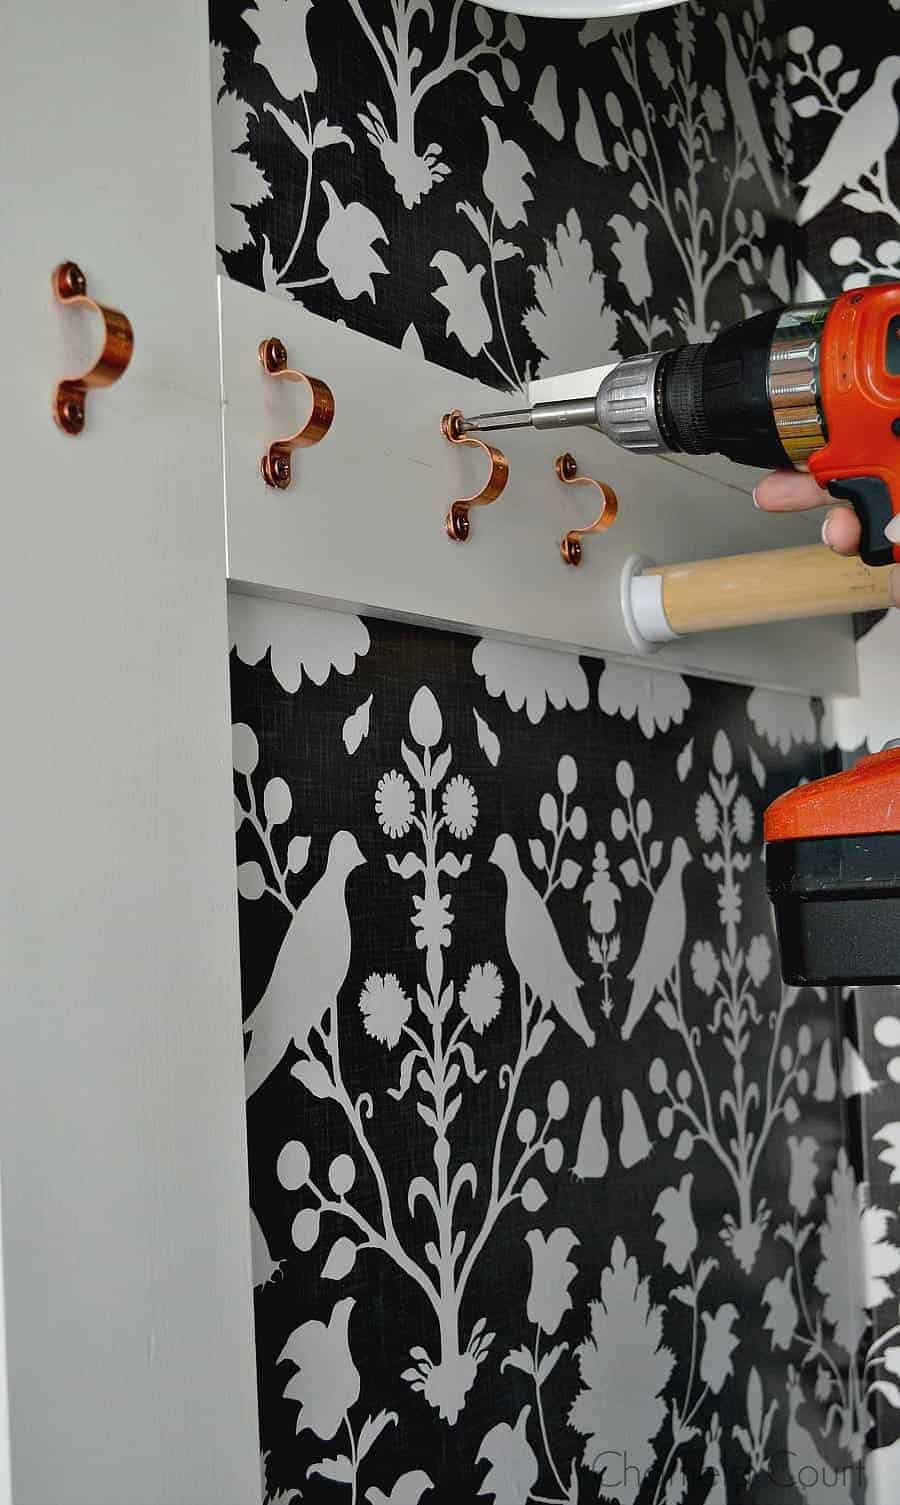
Next, we slid the copper pipe in the tube straps. Then we mounted 2 more straps between the the front and back strap.
The straps were mounted equal distance between the front and back strap. They also need to be centered up and down so that the pipe could move freely.
After we mounted all the straps, we realized that the pipe was a little snug sliding in and out. To fix this we added spacers under the tube straps, which were our copper painted washers.
We ended up using between 2 and 3 washers under each side of each strap.
Step #5
Once the copper pipe was installed I found that it kept hitting the back wall when it was pushed in.
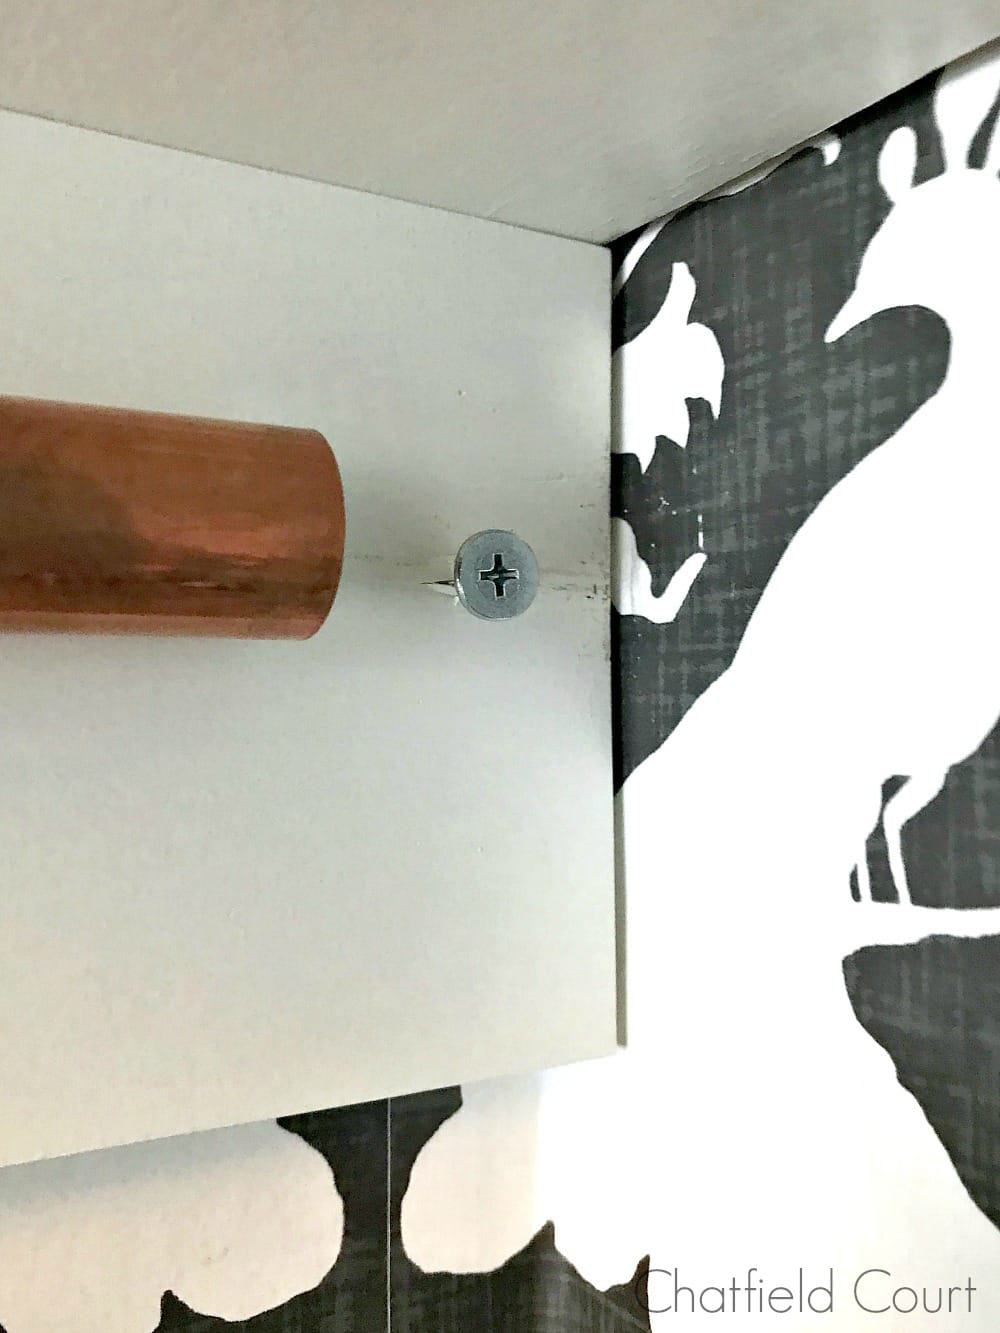
My new wallpaper wouldn't last long with a pipe hitting it, so I added a small screw near the back wall. It was an easy fix, and it's completely hidden from view.
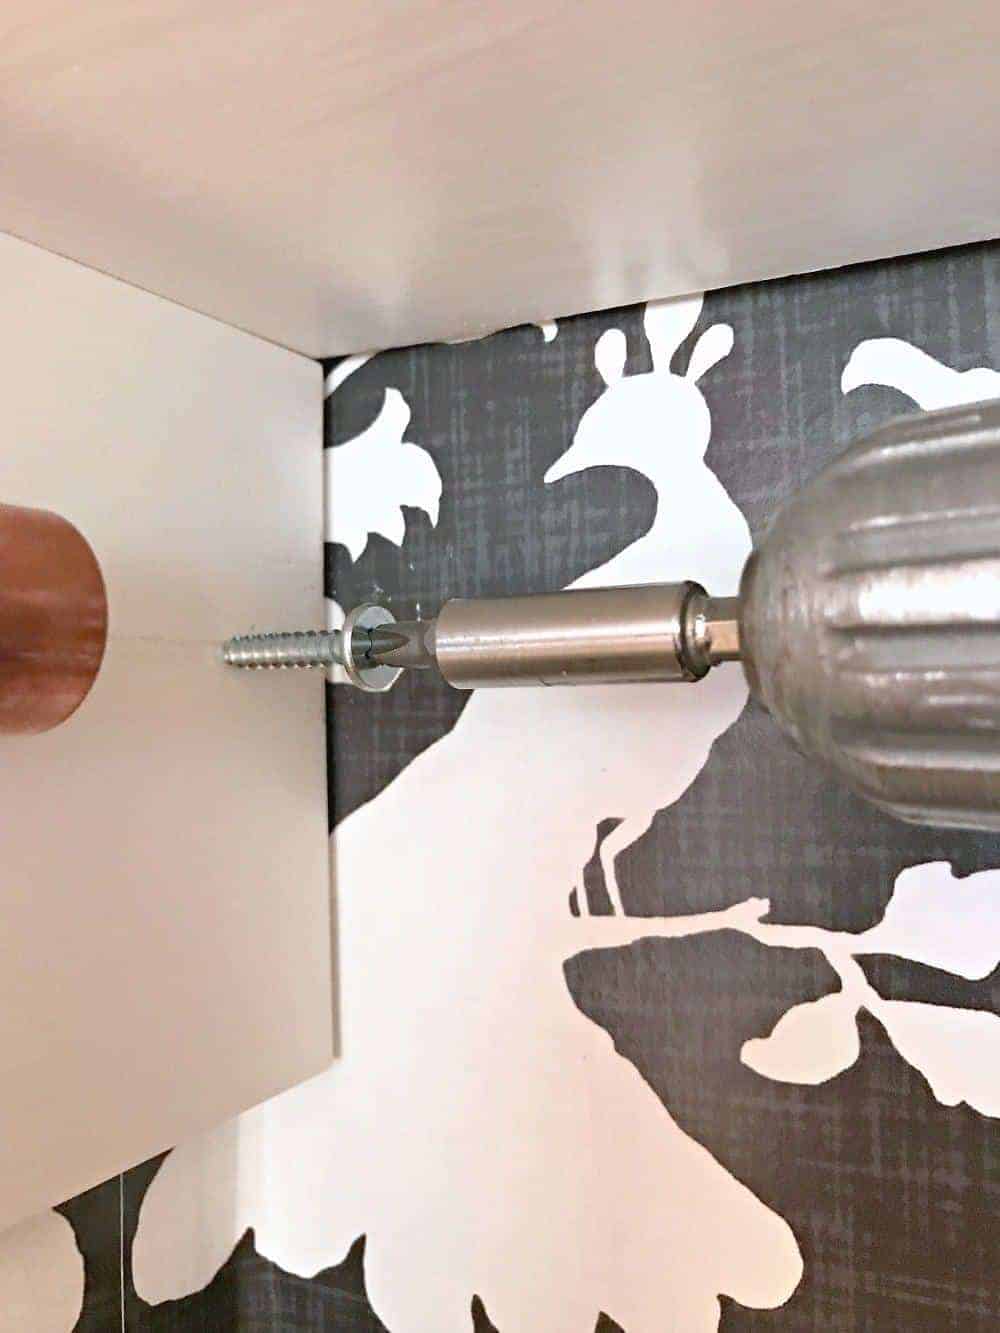
With the addition of the screw, the pipe ended up sticking out of the closet and I couldn't close the door. A quick trim with the pipe cutter and it fit perfectly.
That's it!
We have a new custom sliding closet rod that cost under $15 and we were able to install it all in less than 30 minutes.
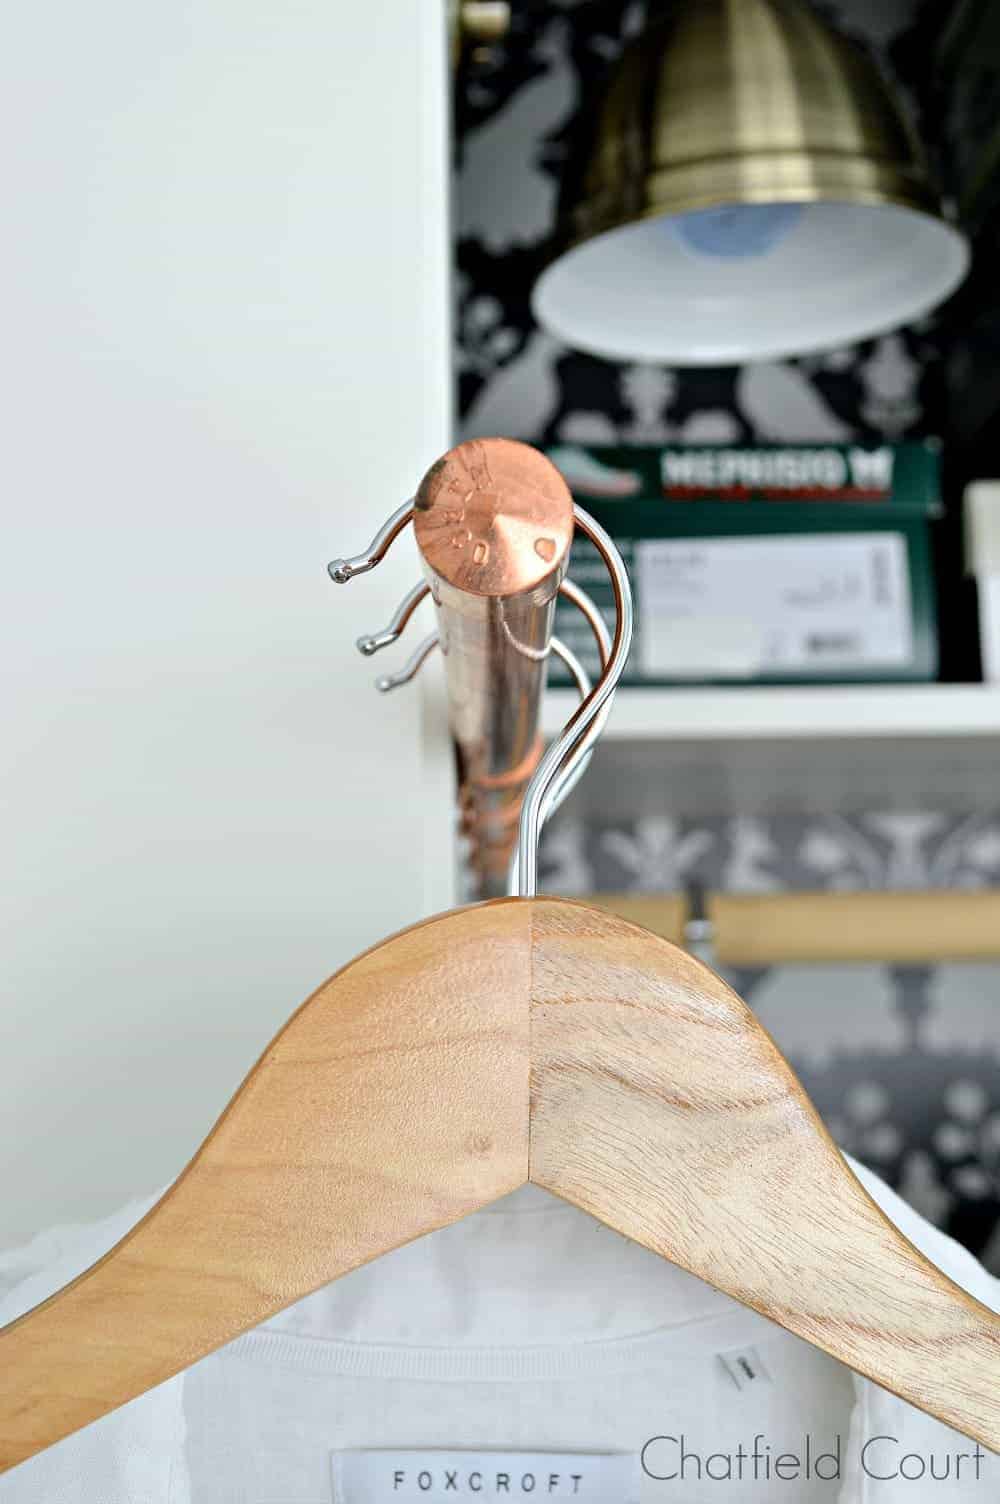

Now I have plenty of space to hang my clothes to dry and it's been really helpful when we're packing for a trip.
A win-win!
Source: https://www.chatfieldcourt.com/diy-copper-pipe-sliding-clothes-rod/

0 Komentar